需求
想着在linux下编译安装不同版本的qt来配置不同的环境,这样就需要分别源码编译qt的不同版本
下载Qt
去[https://download.qt.io/archive/qt/]找到对应自己想要处理的版本。
Qt 5.12.11官网下载
解压对应的压缩包
tar –xvf qt-everywhere-src-5.12.11.tar.xz
基础环境安装
sudo apt-get install libgl1-mesa-dev libglu1-mesa-dev libxkbcommon-x11-dev libfontconfig1-dev python3 python-is-python3 libxcb-xfixes0-dev libxcb-util-dev
开始配置编译
1 .新建一个Qt的安装目录
mkdir /home/ciomp/public/Qt5.12.11
2 .进入Qt源码目录进行配置和编译
./configure -shared -release -recheck-all -nomake examples -nomake tests -qt-xcb -opensource -confirm-license -platform linux-g++-64 -prefix /home/ciomp/public/Qt5.12.11/
configure配置项说明
-shared 动态编译(.so文件) 还可以用-static配置项来配置静态编译(.a文件)
-release 编译release
-nomake examples 不编译examples
-nomake test 不便宜tests
-opensource 编译开源版本 -commercial商业版本
-confirm-license 自动确认许可证
-platform linux-g++-64 编译器
-prefix /home/ciomp/public/Qt5.12.11/ 安装路径
configure时会有一些报错
qendian.h、qbytearraymatcher.h、qqmlprofilerevent_p.h分别会报一下错误。
error: ‘numeric_limits’ is not a member of ‘std’
- /home/ciomp/code/qt-everywhere-src-5.12.11/qtbase/src/corelib/global/qendian.h
- /home/ciomp/code/qt-everywhere-src-5.12.11/qtbase/src/corelib/tools/qbytearraymatcher.h
- /home/ciomp/code/qt-everywhere-src-5.12.11/qtdeclarative/src/qmldebug/qqmlprofilerevent_p.h
这些文件的代码需要添加一下两个头文件
#include <stdexcept>
#include <limits>
3 .make
make时会也会出现以下错误,也得需要修改一下头文件
convert.cpp:6:56: error: ‘int32_t’ was not declared in this scope
- /home/ciomp/code/qt-everywhere-src-5.12.11/qtlocation/src/3rdparty/mapbox-gl-native/src/mbgl/util/convert.cpp
这个文件需要添加的头文件
#include<stdint.h>
4 .make install
使用
设置一下环境变量或者直接进入到安装目录下的bin查看一下是否安装成功
PATH=/home/ciomp/public/Qt5.12.11/bin:$PATH
LD_LIBRARY_PATH=/home/ciomp/public/Qt5.12.11/lib:$LD_LIBRARY_PATH
export PATH LD_LIBRARY_PATH
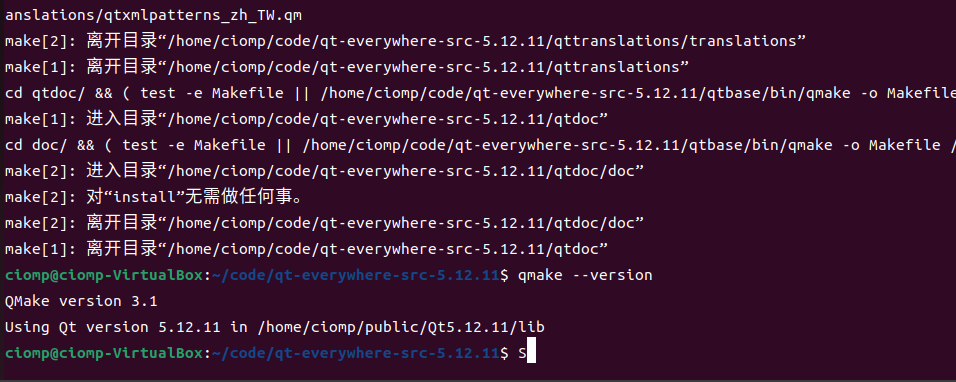
qmake --version
结果


